How To Stabilize Video on Android Smartphone Using Google Photos App
Do you love recording handheld videos using your Android smartphone but you hate that your clips always end up looking not as steady or stable as you wanted to them to be?
Well, did you know that there's a very easy way to stabilize shaky videos on Android smartphones and you don't even need a resource-intensive video editing application to do it?
It's true!
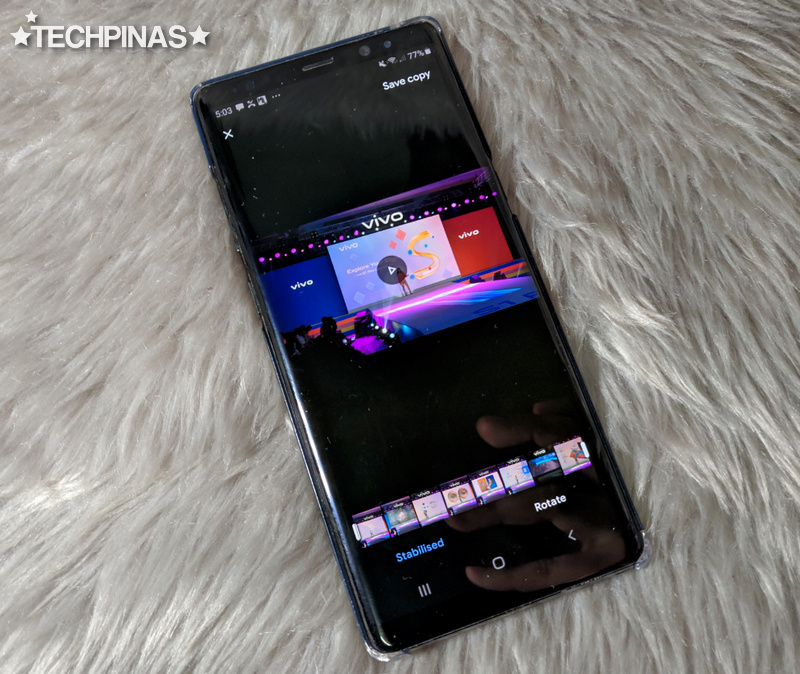
This feature is integrated in the all-new Google Photos application and I'm here to show you how it works so you can employ it in your future video projects.
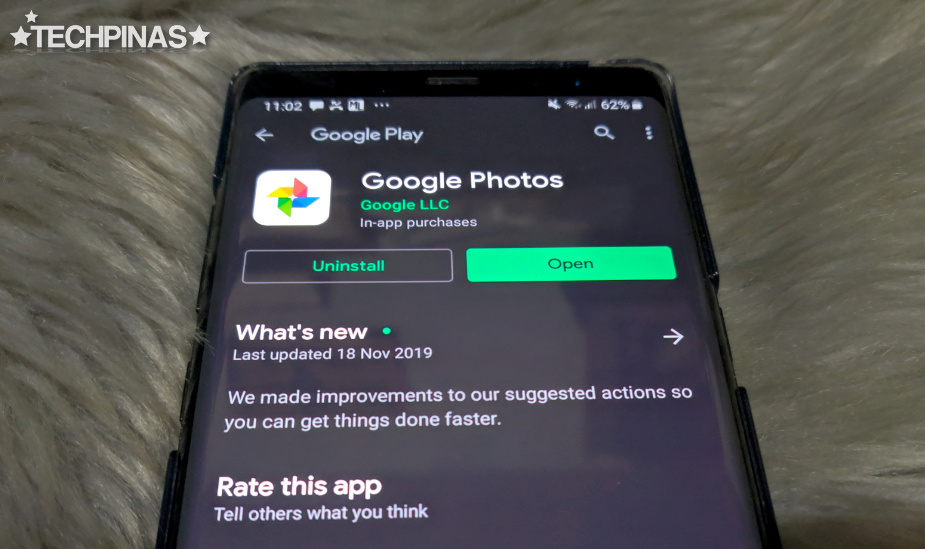
The first thing you need to do is to download the latest version of Google Photos application from Google Play Store.
Next, launch the application and give it permission to access your Gallery as well as to open and edit your photos and videos.
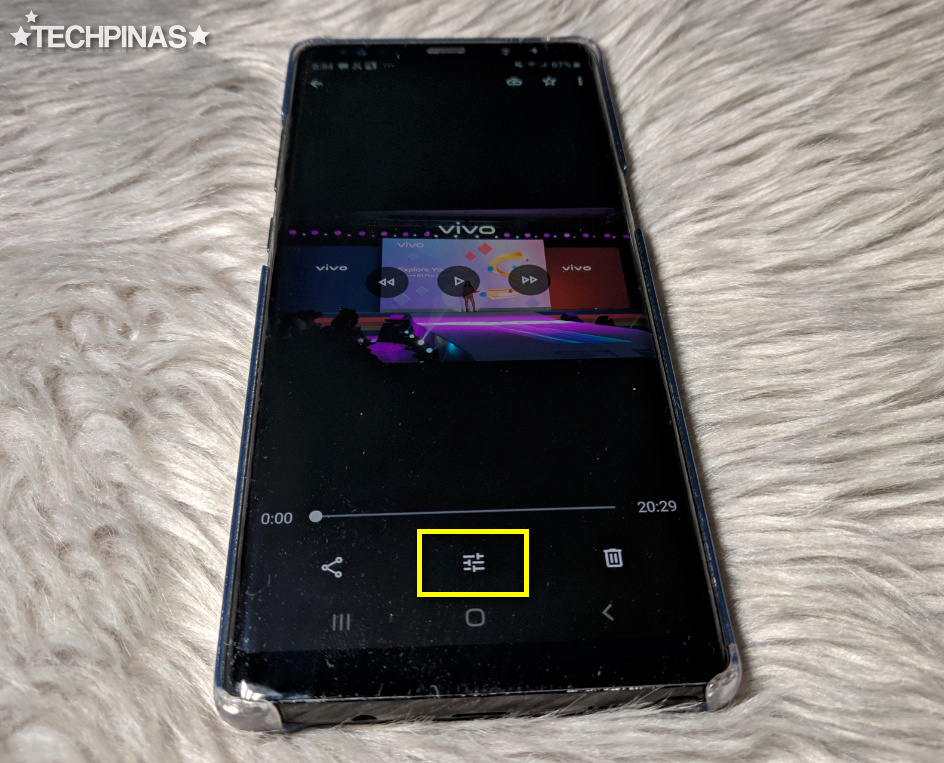
After that, from inside Google Photos, simply choose the shaky video that you want to stabilize. Then click on the Edit option as shown in the yellow box above.
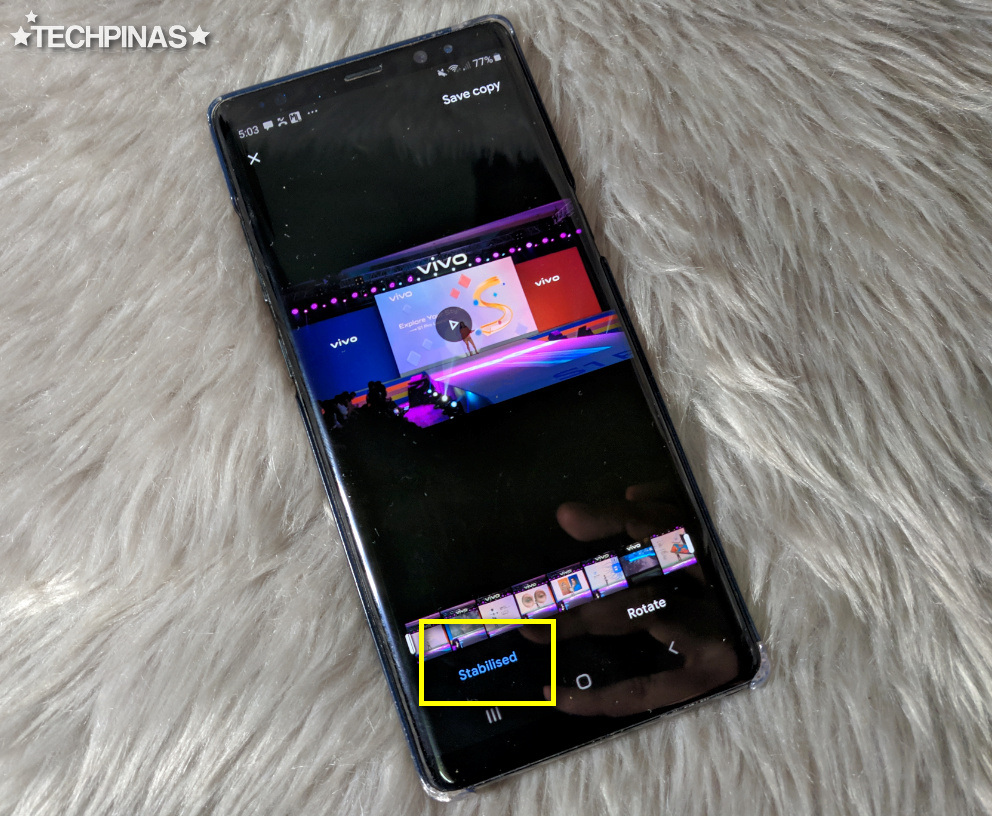
From there, click on "Stabilize" option and let Google Photos do its magic!
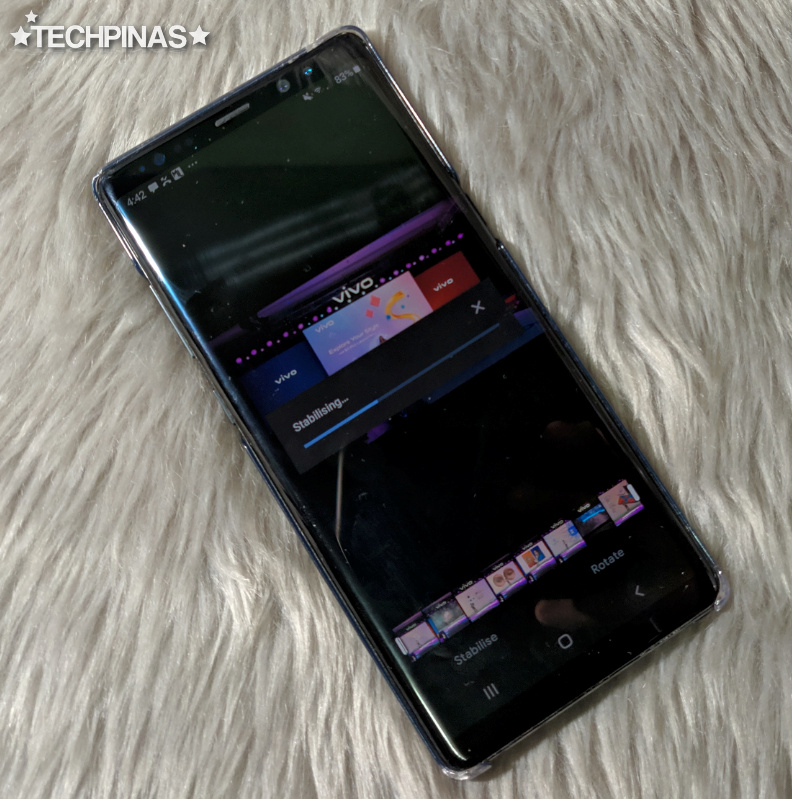
Video stabilization time will depend on how long the shaky footage is. Needless to say, if it's just a short clip, stabilization shouldn't take long but if it's lengthy, you want to do other tasks while waiting for Google Photos to fully stabilize the entire thing.

After the Stabilization process is done, just click on "Save Copy" found in the upper right corner of the screen. It's that easy! But again, the time it takes the Google Photos to save the stabilized clip is in direct proportion to its length. Just be patient if you have a long video.
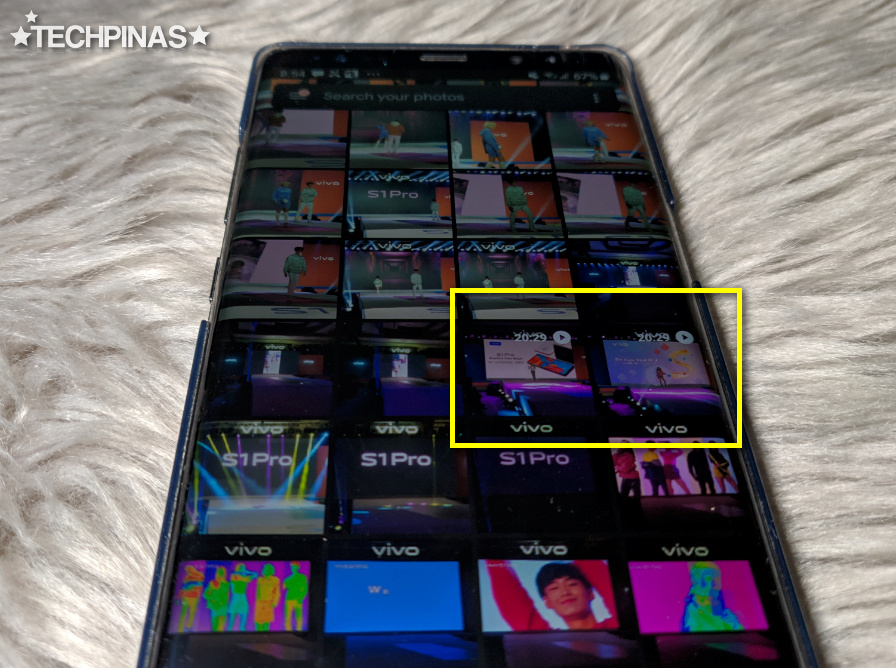
Once saving is complete, you will see the stabilized video alongside the raw or shaky version in your photo album or gallery. You might want to check which one is which and rename the steady file accordingly. You may then upload it directly to Youtube or transfer it to your PC in case you need to incorporate to a bigger video project.
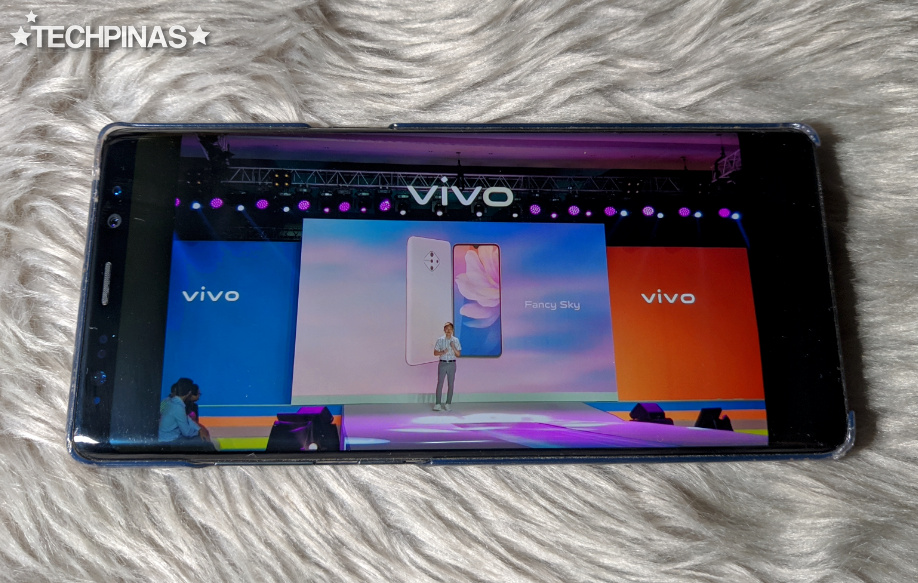
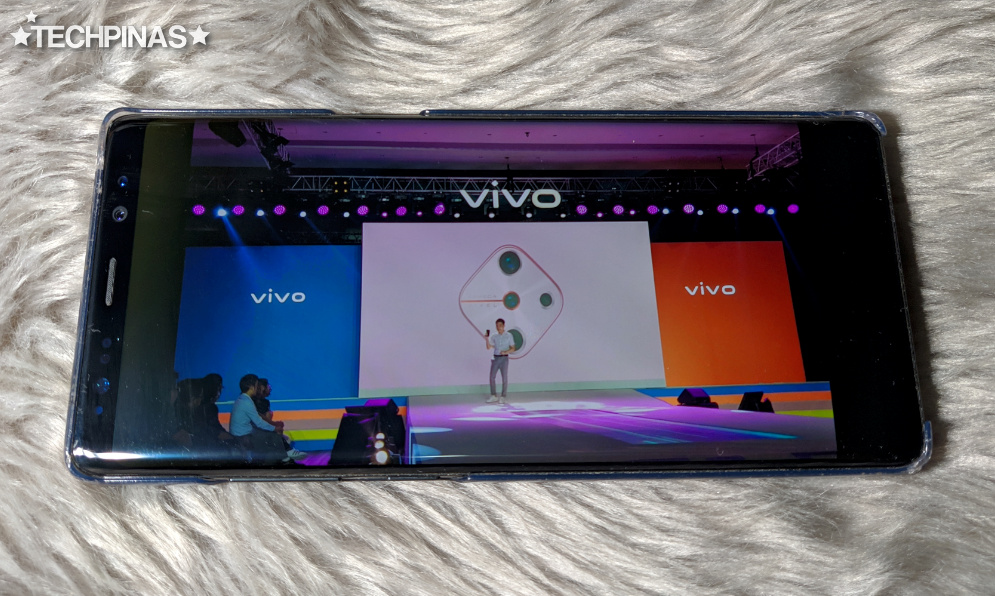
One downside of video stabilization using this process is that you will get a notable crop in the frame of the resulting clip. Hence, we should try to put an imaginary margin around our subject when we record videos that we intend to stabilize through Google Photos app.
There you go, TP Friends! If you found this post useful, I hope you can share it with your friends on social media. If you have questions and clarifications, just leave them in the comment section below. Cheers!
Well, did you know that there's a very easy way to stabilize shaky videos on Android smartphones and you don't even need a resource-intensive video editing application to do it?

It's true!
This feature is integrated in the all-new Google Photos application and I'm here to show you how it works so you can employ it in your future video projects.

The first thing you need to do is to download the latest version of Google Photos application from Google Play Store.
Next, launch the application and give it permission to access your Gallery as well as to open and edit your photos and videos.

After that, from inside Google Photos, simply choose the shaky video that you want to stabilize. Then click on the Edit option as shown in the yellow box above.

From there, click on "Stabilize" option and let Google Photos do its magic!

Video stabilization time will depend on how long the shaky footage is. Needless to say, if it's just a short clip, stabilization shouldn't take long but if it's lengthy, you want to do other tasks while waiting for Google Photos to fully stabilize the entire thing.

After the Stabilization process is done, just click on "Save Copy" found in the upper right corner of the screen. It's that easy! But again, the time it takes the Google Photos to save the stabilized clip is in direct proportion to its length. Just be patient if you have a long video.

Once saving is complete, you will see the stabilized video alongside the raw or shaky version in your photo album or gallery. You might want to check which one is which and rename the steady file accordingly. You may then upload it directly to Youtube or transfer it to your PC in case you need to incorporate to a bigger video project.

One downside of video stabilization using this process is that you will get a notable crop in the frame of the resulting clip. Hence, we should try to put an imaginary margin around our subject when we record videos that we intend to stabilize through Google Photos app.

There you go, TP Friends! If you found this post useful, I hope you can share it with your friends on social media. If you have questions and clarifications, just leave them in the comment section below. Cheers!


